
How to Use Canva Presentations
Make visually appealing presentations that'll stand out among others using Canva.

Canva, a graphic design platform, is gaining a lot of traction as a design tool. Its basic premise – it’s just as easy to use for non-designers. You don’t need to be an expert in graphic designing to use Canva, and that is one of the main reasons behind its popularity.
With design becoming one of the hottest commodities for just about every field, Canva makes it accessible to everyone. Whether you’re an entrepreneur, a marketer, influencer, or a blogger, you can use Canva to make fetching content for social media, posters, graphics, design your own business cards even. If you’ve got even a little eye for design, Canva can help you cut down on the costs of hiring professional designers.
But did you know you can also use it to make just as engaging and stimulating presentations? Whether you want to make presentations for a professional environment or personal use (like a birthday surprise), Canva Presentations have got you covered. Let’s dive right into it!
Getting Started
Canva offers a web app you can immediately start using on your desktop without having to download anything. Unfortunately, the web app is your only option as there is no desktop app. So you need an internet connection to work with Canva as it stores all your work on its servers.
Canva also has a mobile app for iPhone and Android, which you can use on the go. But when getting started, using the web app is the best course of action.
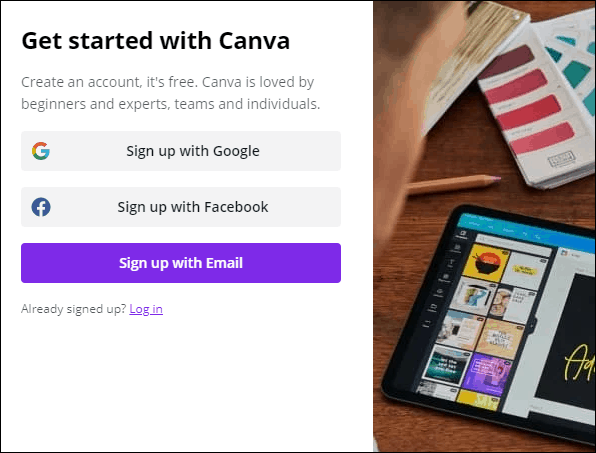
Go to canva.com and create a free account. Click the ‘Sign Up’ button to create a new account.

You can sign up with your Google account, Facebook account, or your email address.
Canva has a freemium structure, so you can use it for free with limited features or get a Pro or Enterprise subscription for complete access. It also offers a 30-day free trial to its Pro features, so you can try it out before deciding whether you want to convert to a paid user.
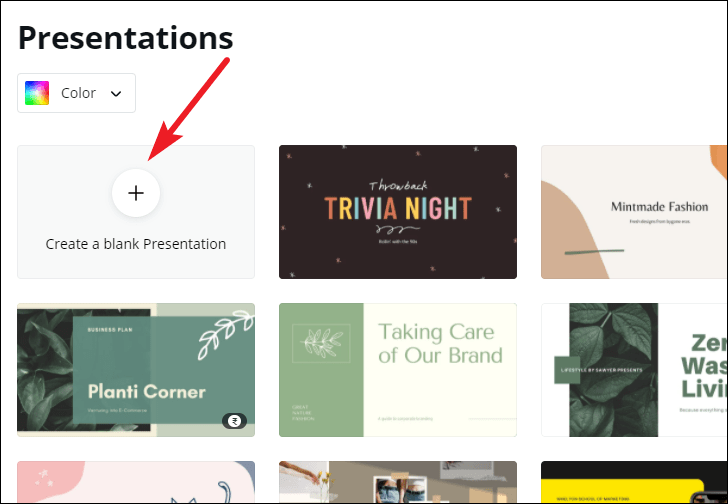
Now, from the Canva home page, click the ‘Presentations’ button under the Design anything banner. If you can’t find the option, you can also search for ‘Presentation’ from the search bar.

There are plenty of size options to choose from when creating a presentation. Let’s stick with the standard size ‘1920 x 1080 px’ here.

One of the things that makes Canva so easy to use for everyone is the sheer number of templates. The assortment of templates in existence ensures that you’ll find something to match your needs. But if not, you can also start with a blank slate and create your presentation from scratch.
For this guide, we are selecting a template for the presentation. Before selecting a template, you can see what it has to offer by clicking the three-dot menu and selecting ‘Preview this template’.

Click ‘Use this template’ to select the template if you like it or go back and select another.

Editing the Presentation
The template will load into the editing interface. Canva has an eerily easy editing interface. Let’s navigate the interface first. Below the slide is the thumbnail view where you can see all the slides in thumbnails side by side.
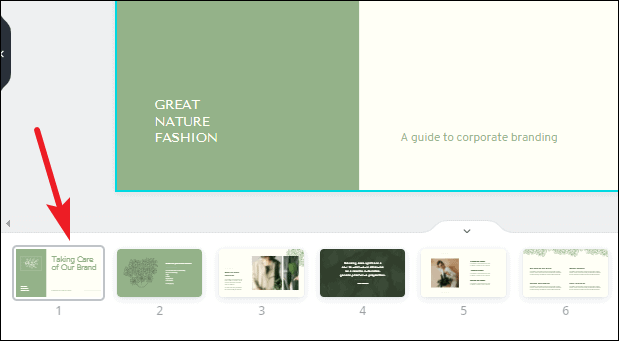
To turn off the thumbnail view, click the on/ off toggle (arrow).

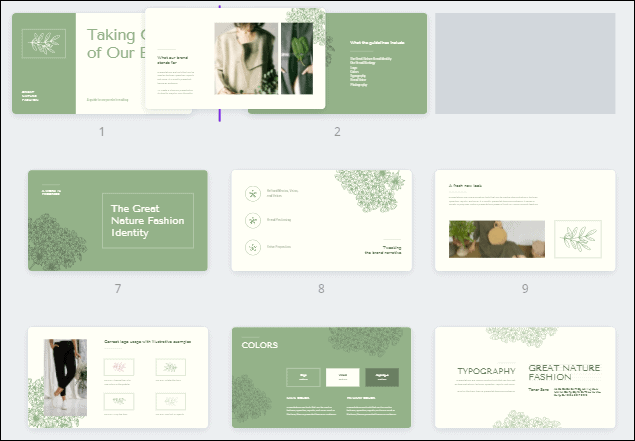
Click the grid view button to switch views.
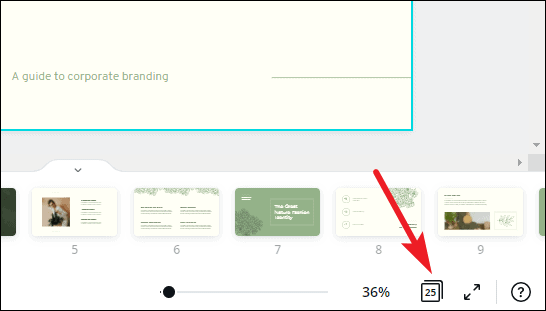
The grid view is helpful when there are a lot of slides in your presentation. Using grid view, you can get an overview of them all. You can also rearrange the slides by dragging and dropping slides into a new position. Click the ‘Grid View’ button again to switch back.
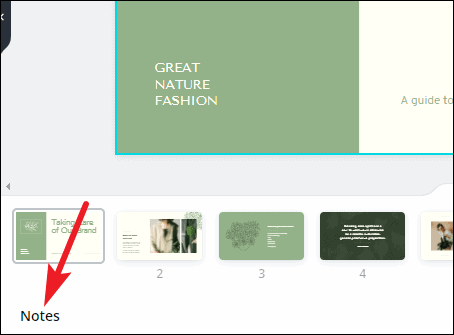
Click the ‘Notes’ option to add notes to the presentation that you can use for reference while presenting.
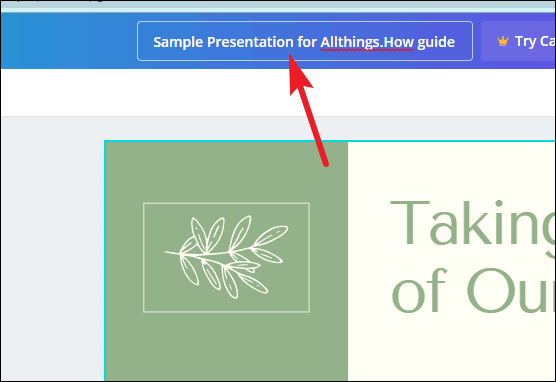
The name of the presentation can be edited from the top-most toolbar.
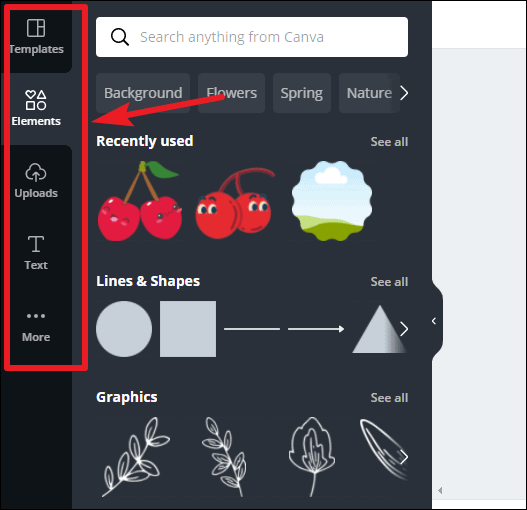
Now, on the left is the toolbar that houses all the tools for editing the design elements in the presentation.
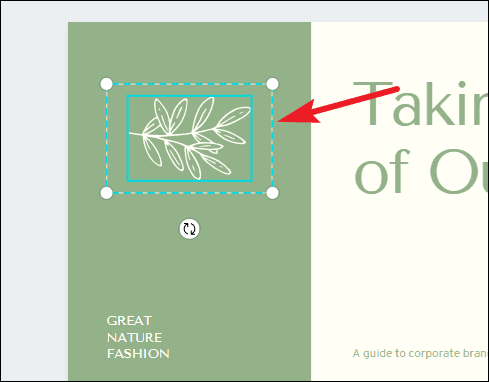
When you’re using a template, almost all of the elements can be selected and edited. You can delete an element, change color, font (for text). To select an element, hover over it. The part of that element will be highlighted in blue. Click it to select it.
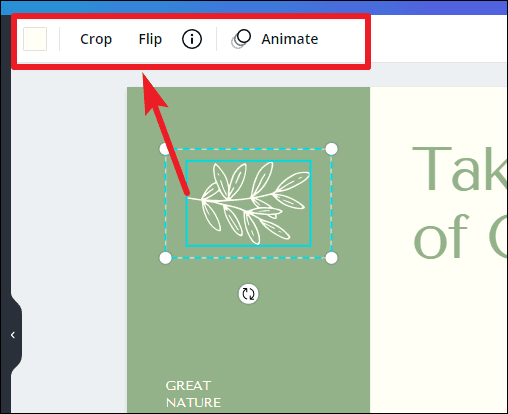
Another toolbar will appear above the slide with editing options specific to the element you have selected. Depending on the element, you can change it’s color, font, font size.
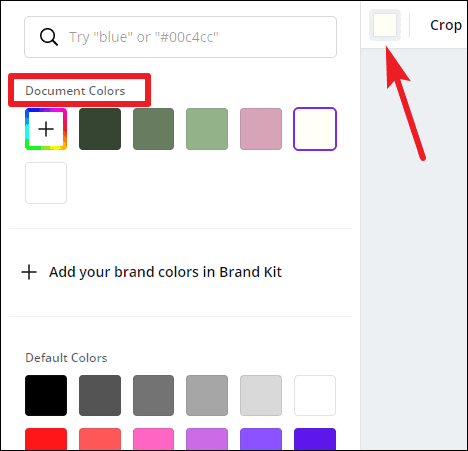
When you click the color option, a palette for document colors will appear above, followed by available default colors. For free users, only limited color options are available. If you have a Brand Kit (available only for Canva Pro users), that palette will also appear here.
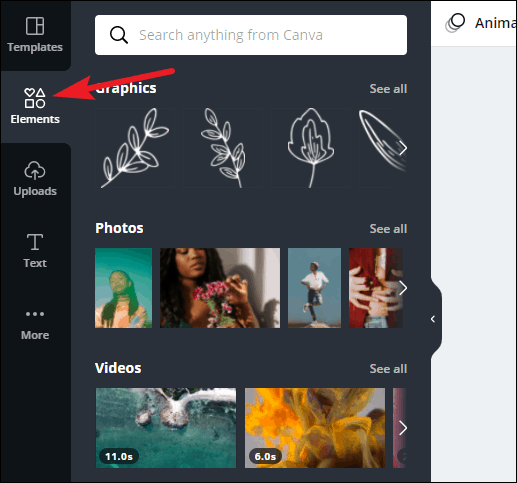
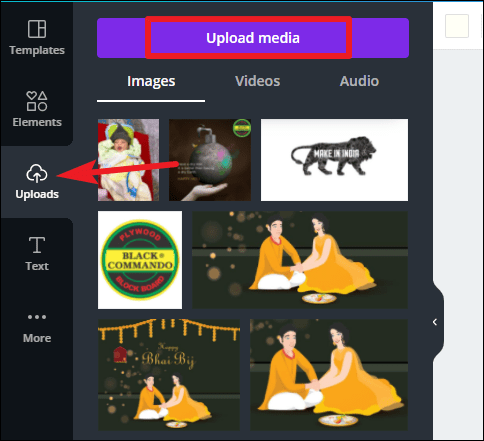
Click on the ‘Elements’ option on the left toolbar to add elements like photos, videos, graphics, audio, charts, etc. to your presentation.
To add photos, videos, or audio from your computer, click the ‘Uploads’ button. Then, click the ‘Upload media’ button to select content. Any media you previously uploaded will also be available here.
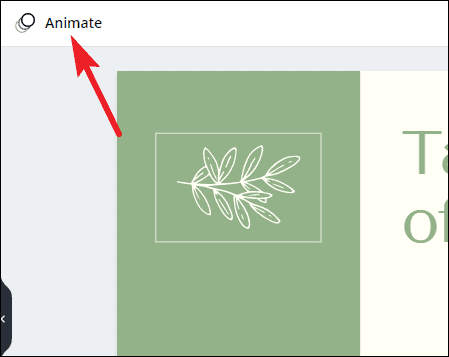
You can also add animations to individual elements or the entire page. Select an element and click the ‘Animate’ button.
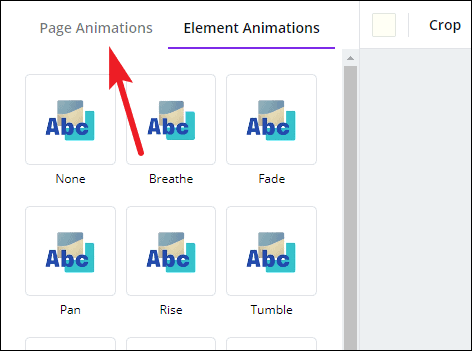
‘Element animations’ will open. To switch to page animations, click the ‘Page Animations’ tab.
Presenting your Presentation
Once your presentation is complete comes the main part – presenting it. Canva offers a lot of options for your finished presentation. You can present it right from Canva or publish or download it for various platforms.
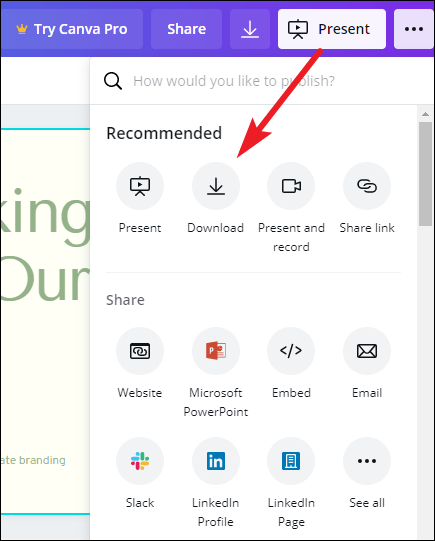
To publish it elsewhere or download it, click the ‘three-dot’ menu on the top-right corner.
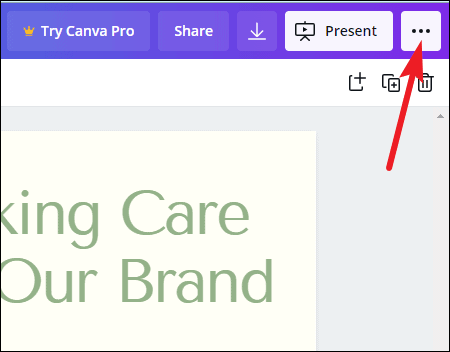
A list of options will appear. You can download it onto your computer, or as a PowerPoint presentation, share a link to the presentation, publish it as a website, embed it on your website, and much more. You can also record it while presenting with a voiceover.
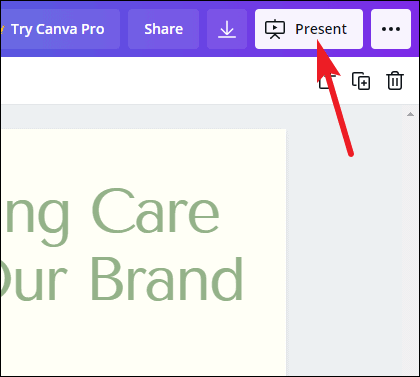
To present straight from Canva, click the ‘Present’ button.
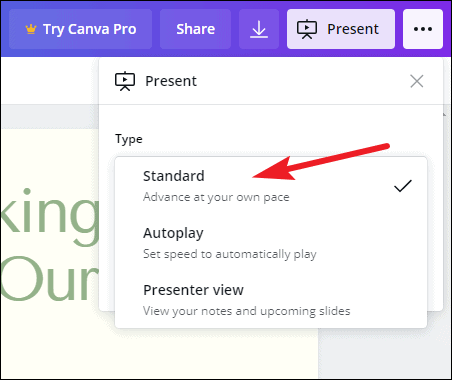
Click the drop-down menu below ‘Type’ and select how you want to present it.

There are three options to choose from: ‘Standard’ – where you present at your own pace, ‘Autoplay’ – where the presentation advances automatically, and ‘Presenter View’ – where you can view your notes and upcoming slides, but the rest of the people cannot. Presenter View is best used when you’re presenting on a projector.
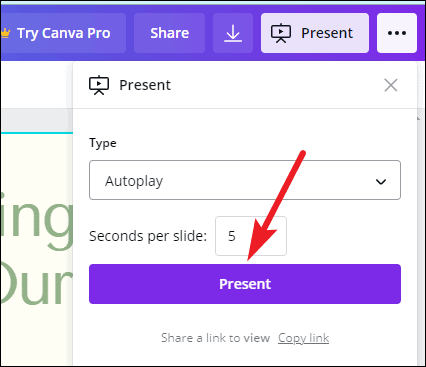
After selecting the type, click the ‘Present’ button.
Bonus Tips for your Presentation
While presenting the presentation on Canva, you can add special effects to enhance the performance with some keyboard shortcuts. All you need to do is press the associated key with each effect to bring it into action. Press the same key to stop it. You can also press multiple keys to add 2 or more special effects. With these effects, your presentation is bound to stand out to your audience and be memorable.
Drumroll : Add a drumroll before a slide by pressing the key ‘D’ before a big reveal.

Confetti : Add a shower of confetti to celebrate something with the key ‘C’ .

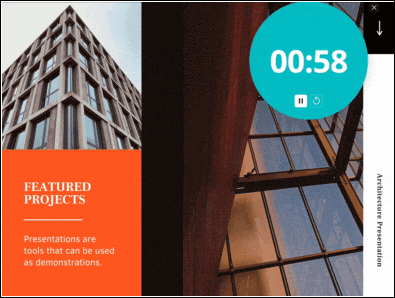
Countdown : Add a countdown from ‘1-9’ by pressing one of the keys.
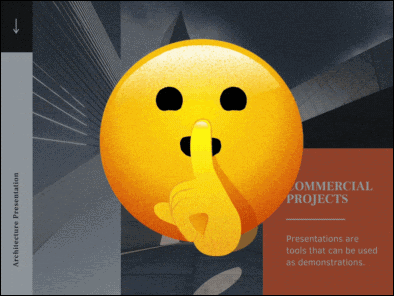
Quiet : Bring a 🤫 emoji to screen to hush your audience with the ‘Q’ key.
Bubbles : Press down the ‘O’ key to bring bubbles on the screen.
Blur : Build tension and add drama to the atmosphere by blurring the screen with the key ‘B’.

Presentations are a huge part of professional life, whether you’re presenting to your clients, doing a webinar, promoting your brand, to name a few. With Canva, you can make presentations that’ll leave a long-lasting impact but won’t take long to make.
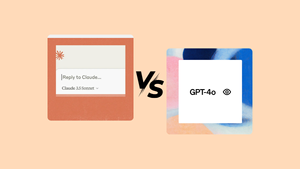
Claude Sonnet 3.5 vs. ChatGPT-4o: Which is better?

5 best AI Web Browsers in 2024

7 best AI search engines in 2024
Get all the latest posts delivered straight to your inbox., member discussion.

How to Fix "Premium Images Can't Be Exported On Their Own" Error in Canva

How to Use Magic Switch in Canva to Instantly Convert Your Designs

How to Use Soundraw AI Music Generator in Canva

How to Use Magic Studio in Canva to Transform Your Ideas into Videos

How to Make Artistic QR Code in Canva using Mojo AI
Yes To Tech
- Sep 17, 2020
Canva Presentation Tutorial: How To Make Presentation In Canva + How To Use Canva For Presentation

Want to easily create presentation slides but are tired of the options that PowerPoint provides? In this Canva presentation tutorial I'll show you how to create amazing presentations using Canva. Canva is my absolute favorite graphic design tool for non-designers and it comes with a number of presentation templates that you can customize.
If you've been wondering how you can create better presentations with Canva, stay tuned until the end of this video to learn how to use Canva to create a presentation, and to get a FREE cheat sheet with 9 amazing online business tools like Canva that you can use in your online business to save time and boost your productivity. Also, make sure to subscribe and hit the bell to be notified every time I post a new video. With that said let's go ahead and jump right in.
First off, if you don't have a Canva account yet, just click on the link in the description box below to create one for free .
After you've logged in to your Canva account, click on the search bar, and search for 'presentation'. Canva has a number of presentation templates that you can customize, which include all of the kinds of slides that you might need, or if you prefer, you can select a blank template to start from scratch.
To view the available slides within the presentation template, just click on the three little dots on the top-right of the presentation template, and click through the available slides at the bottom. Don't worry too much which presentation template you choose since you can always change it later.
Once you've selected a presentation design to customize, click on 'use this template' to edit it. Just like with any regular Canva template, you can click on any of the elements on the page to customize them, such as the background, image and text, or click on any of the options from the left-hand side panel to add new photos, elements or text into your design.
Using Canva to create a presentation is easy because it's super straightforward. To edit any of the existing elements on a presentation slide, all you have to do is click on it, and view the available options up top. For instance, you can change the color of this square to any other one of your choice, you can change what this text says by double clicking on it, and writing something new, you can change the appearance of this text by editing its font, size and color, and you can either add an effect to this image, or add a new one altogether by clicking on 'photos' from the left-hand side panel, searching for the photo of your choice, and then drag-and-dropping it right where this original photo is.
For more details on how to customize a Canva design, make sure to watch my video on ' how to use Canva '. I'll leave the link to it in the description box below.
As you can see, Canva has a number of slide options that you can customize for your presentation, such as cover, icons, outline or table of contents, photo and text, quote, step-by-step, comparison, numbers, three column, bar chart, text only with multiple headings, question or statement page, title for a section, video, photo and text again, big photo and text, and so on and so forth.
You can customize each of these slides, as well as add presenter notes to them, move them up or down to reorder your presentation slides, copy the page to duplicate this slide's design, delete it altogether, and add a new blank page.
To add an animation to any of your slides, select the page that you want to animate, and select one of the animation options available. You can either add a new animation to new slide, or choose 'apply to all pages' to add the same animation to all slides.
Once you're done customizing the presentation you created in Canva, rename your design up top, and then click on the downward pointing arrow on the far right of the screen . There are a number of options that you can choose from: present, where you can present these slides right now where you either advance at your own pace, set speed to automatically play or view your notes and upcoming slides, present and record, where you can record yourself while talking over a presentation, and then share the video on YouTube, as an evergreen webinar, or with specific people, download these slides as an image, PDF, video or GIF, share a link to this presentation with others, publish this presentation as a beautiful, responsive website, or download your presentation as a PowerPoint document.
Now you know how to use Canva to create a presentation so you can easily create your presentation slides. As promised, to get a FREE cheat sheet with 9 brilliant tools like Canva that you can use in your online business to save time and boost your productivity, just click on the link in the description box below.
So what will the presentation you create in Canva be about? I'd love to hear your answer and start a conversation in the comments below, and also make sure to click on the link in the description box below to get your free cheat sheet , as well as a free 30-day trial of Canva Pro .
If you're new around here, hi I'm Marina Lotaif from Yes To Tech, and I'd love for you to join the family. You can do so by hitting the subscribe button and if you're already subscribed, and want to be notified every Tuesday and Thursday at 9:45am Eastern, just click on the bell after you subscribe and you'll receive a notification every single time I post. I hope you're having a wonderful day wherever you are and I'll see you in my next video.
HOW TO USE CANVA TO CREATE A PRESENTATION: Create Better Presentations With Canva Pro. Want to easily create presentation slides but are tired of the options that PowerPoint provides? In this Canva presentation tutorial I'll show you how to create amazing presentations using Canva. Canva is my absolute favorite graphic design tool for non-designers and it comes with a number of presentation templates that you can customize. If you've been wondering how you can create better presentations with Canva, stay tuned until the end of this video to learn how to use Canva to create a presentation.
GET A FREE 30-DAY TRIAL OF CANVA PRO: https://canva.pxf.io/jA4Q5
CLICK TO TWEET: https://ctt.ac/ar4Zz
SUBSCRIBE FOR NEW VIDEOS EVERY TUESDAY & THURSDAY: http://bit.ly/youtubeyestotech
RESOURCES MENTIONED:
- FREE cheat sheet with 9 brilliant tools to run your online business: https://www.yestotech.com/onlinebusinesstools
- Get A FREE 30-day Trial Of Canva Pro: https://canva.pxf.io/jA4Q5
- How To Use Canva: https://Youtu.Be/Q0m7psfcl94
RELATED VIDEOS:
- How To Create A Facebook Cover In Canva: https://youtu.be/2tmOJOiG3Iw
- How To Remove Background In Canva: https://youtu.be/aGuUui8riyk
- How To Make Instagram Story Bingo Cards: https://youtu.be/FndNRDnoA7k
- How To Create Animated Instagram Stories With Canva: https://youtu.be/diWTo3ym4Jo
- How To Create A Scrolling Website Animation Without Photoshop: https://youtu.be/AnECTOo7M0M
DISCOUNT CODES & EXCLUSIVE OFFERS:
- ConvertKit (email marketing software): a 30-day free trial - https://convertkit.com/?lmref=7SUoRg
- Viraltag (social media marketing tool): a 14-day free trial and $15 off - https://viraltag.grsm.io/MarinaLotaif914
- Leadpages (landing page and website builder): a 14-day free trial - https://try.leadpages.com/yestotech
- Interact Quiz Maker (quiz, poll and giveaway maker): a 14-day free trial - https://www.tryinteract.com/#oid=59709_4020
- Hostinger (web hosting): 10% off with code YESTOTECH - https://www.hostinger.com/yestotech
- Wix (website builder): 50% off yearly premium packages (first time users only) with code EDU_Mar17411703 - http://bit.ly/wixforfree
- Canva Pro (graphic design tool): a 30-day free trial - https://canva.pxf.io/jA4Q5
- Visme (presentation, infographic and visual content creator): a free forever plan until you decide to upgrade - https://partner.visme.co/?ref=MarinaLotaif
- Teachable (online course platform): a free forever plan until you decide to upgrade - https://teachable.sjv.io/c/1134751/933427/12646
SHOP THE STORE:
- Brilliant Branding: https://mlotaif.lpages.co/brilliant-branding-evergreen/
- Wonder Website: https://mlotaif.lpages.co/wonder-website-evergreen
- Traffic Takeoff: https://mlotaif.lpages.co/traffic-takeoff-evergreen
- Webinar Sales Funnel Template: https://yestotech.teachable.com/p/webinar-sales-funnel-template
- Canva Crash Course: https://yestotech.teachable.com/p/canva-crash-course
- ConvertKit Tech Training Tutorials: https://yestotech.teachable.com/p/convertkit-tech-training-tutorials
- Power Productivity: https://yestotech.teachable.com/p/power-productivity-premium
SUBSCRIBE FOR MORE VIDEOS: http://bit.ly/youtubeyestotech
MY FAVORITE TECH, TOOLS, AND RESOURCES: https://www.yestotech.com/resources
JOIN THE CONVERSATION!
- Website: https://www.yestotech.com
- Facebook: https://www.facebook.com/yestotech
- Pinterest: https://www.pinterest.com/yestotech
- Instagram: https://www.instagram.com/yestotech
- Twitter: https://twitter.com/MarinaLotaif
Welcome to our YouTube channel! It's our mission at Yes To Tech to empower online entrepreneurs, bloggers, and small business owners like you to maximize your online presence - even if you're not tech savvy! Subscribe to our channel for tips and tricks on DIY website creation, social media marketing, e-mail marketing, branding, blogging, webinars, and video creation, for the tech needed when you're just getting started with your online business, and for step-by-step video tutorials created especially for the non-techie online entrepreneur's point of view.
DISCLAIMER: This video and description may contain affiliate links, which means that if you click on one of the product links, I’ll receive a small commission. This helps support the channel and allows me to continue to make videos like this. I only recommend products that I use and love. Thank you for your support!
WHAT YOU’LL LEARN IN THIS VIDEO:
How to use canva to create a presentation, create better presentations with canva, how to make a presentation in canva, how to use canva, create amazing presentations using canva tool, how to create a canva presentation with powerpoint, canva presentation tutorial, easily create presentation slides, canva tutorial
#canva #canvatutorial #presentation
https://youtu.be/zQUZdpKPhJw
Tags: how to use canva to create a presentation, create better presentations with canva, how to make a presentation in canva, how to use canva, create amazing presentations using canva tool, how to create a canva presentation with powerpoint, canva presentation tutorial, easily create presentation slides, canva tutorial, yes to tech
Recent Posts
How To Make Collage In Canva: Photo Collage In Canva + Canva Photo Collage
Canva Text Effects: How To Make A Typewriter Effect With Canva | Canva Transition Effects
How To Remove Animation In Canva: Canva Animation Tutorial
How to Create Presentations in Canva

Parth Shah is an evergreen freelance writer covering how-tos, app guides, comparisons, listicles, and troubleshooting guides on Android, iOS, Windows, Mac, and smart TV platforms. He has over five years of experience and has covered 1,500+ articles on GuidingTech and Android Police. In his free time, you will see him binge-watching Netflix shows, reading books, and traveling.

Afam has been a content writer with Guiding Tech Media since August 2023. However, his experience in tech writing dates back to 2018, when he worked as a freelance writer for Make Tech Easier. Over the years, he has grown a reputation for publishing quality guides, reviews, tips, and explainer articles. His work is featured on top websites, including Technical Ustad, Windows Report, and Next of Windows. He has training as a Microsoft Certified Professional and has covered more Microsoft-related guides on these platforms.
- You can easily customize templates, add graphics, and animate slides without needing extensive design skills.
- Canva’s collaboration features allow for real-time editing and sharing of presentations.
- Canva provides various export options, including PDF, PPTX, MP4, and image formats.
How to Create Canva Presentations
To create Canva presentations, you must follow a few steps. We break them down into the headings below.
Pick Up an Aspect Ratio and Template
Pick a relevant aspect ratio for your presentation. If it’s a traditional PPT, go with a 16:9 aspect ratio. If you plan to show your PPT on mobile, use the 9:16 aspect ratio. Tablet users can start with a 4:3 aspect ratio. Canva also offers some ready-to-use templates to get started. We highly recommend starting with a template to save some time.
Step 1: On the left pane, click Templates .
Step 2: Choose a template from the options or search for one using the search field.

Step 3: Click Customize this template once satisfied with your choice.

Note: You can filter templates via style, theme, feature, and color. For example, you can check company, marketing, corporate, marketing, school, and other templates. Under templates, you also find an option to create instant presentations. You can enter a prompt and check Canva’s suggestions to get started.
Customize a Page With Editing Features
Once you select a template, you can add all pages to your presentations and customize other pages.
Step 1: To select a page for customization, click on it at the bottom of the interface.

Step 2: At the bottom of the interface, click the three-dot icon for a page and select any of the available options.

Step 3: When you click on a page, Canva lets you change every aspect of the template with different text styles, filters, and image editing tools. You can change color, tweak transparency, copy style, and more.

We suggest editing tools to customize your Canva presentation and add personal touches.
Add Graphics, Stickers, and Images
Your presentation will not seem attractive without graphics, stickers, images, and videos. Unlike Google Slides or PowerPoint, you don’t need to import media files to Canva to complete your slides. You can easily add relevant elements from the sidebar.
Step 1: Open a slide in your Canva presentation.
Step 2: Select Elements from the sidebar. You can add graphics, icons, stickers, tables, videos, and more.
Step 3: You can explore the AI image generator and turn your creative ideas into images and videos with a single click.

You can add simple descriptions and even turn generated images into videos. Canva also offers a long list of graphics packs in several categories. The possibilities are endless here. It’s up to you to make a compelling slide using useful tools.
Tweak Page Animation
Once you create a page, tweak its animation to smoothly transition between pages.
Step 1: Select a slide in Canva.
Step 2: Click Animate at the top.

Step 3: Check Basic , Exaggerate , Photo Movement , and other animation types from the left sidebar.

You can also tweak the animation intensity, which is great.
Add Presenter Notes
Do you plan to present your Canva PPT on a video conference? You can add notes to each slide so they appear during the Presenter view (more on that later).
Step 1: When you create a PPT, select a slide and hit Notes at the bottom.

Step 2: Enter the notes you want to remember or discuss during a video meeting.

Collaborate and Edit in Real Time
Like Google Slides and Microsoft PowerPoint, Canva lets you share and edit a presentation in real-time. You can take your colleagues’ input and create a share-worthy presentation quickly.
Step 1: When you are done making changes to your presentation, click Share at the top.
Step 2: Enter people, groups, or your team. Expand the collaboration link menu and select Anyone with the link .
Step 3: Expand the permission menu and select Can edit .

You can also share a link with view or comment-only permission. Select the Copy link and share it with your co-workers.
Enable Presenter View or Download and Share Your Presentation
Presenter view is a thoughtful touch from Canva to give presentations over a Google Meet or Teams call.
Step 1: Open a presentation in Canva and select Present at the top.
Step 2: Click Presenter View and check two windows opening up on your computer.

One window shows your presentation with notes open on the sidebar. Another window displays the current slide you are sharing with others over a call.

As expected, Canva offers several options for sharing and exporting your presentation. When you complete your presentation, click Share in the top-right corner and expand Download .
You can convert a presentation to PDF, PPTX (Microsoft PowerPoint compatible), MP4, JPG, PNG and SVG formats. Check our dedicated post if you wish to print your Canva presentation .

1. Can you customize a PowerPoint presentation (.PPTX) in Canva?
Yes, you can customize a PowerPoint presentation (PPTX) in Canva. You will need to upload the presentation, edit it, customize your slides, and then download it.
2. Can you edit a Canva presentation in the Microsoft PowerPoint?
Yes, you can edit a Canva presentation using Microsoft PowerPoint. You will need to download it from Canva, open it in Microsoft PowerPoint, edit the presentation, and save your changes.
Was this helpful?
Last updated on 27 August, 2024
The above article may contain affiliate links which help support Guiding Tech. However, it does not affect our editorial integrity. The content remains unbiased and authentic.
Leave a Reply Cancel reply
Your email address will not be published. Required fields are marked *

The article above may contain affiliate links which help support Guiding Tech. The content remains unbiased and authentic and will never affect our editorial integrity.
DID YOU KNOW

More in Internet and Social

3 Fixes for iMessage Sending From Email Instead of Phone Number

3 Best Ways to Double Underline Text in Google Docs
Join the newsletter.
Get Guiding Tech articles delivered to your inbox.
IMAGES
VIDEO
COMMENTS
Present your Canva designs in standard, autoplay, or presenter view modes. Read to learn more.
Control how you see your design pages while you create on Canva. Create or open an existing design , and refer to the sections below. Zooming in or out is the only page view setting currently available in Canva Docs.
There are three options to choose from: ‘Standard’ – where you present at your own pace, ‘Autoplay’ – where the presentation advances automatically, and ‘Presenter View’ – where you can view your notes and upcoming slides, but the rest of the people cannot.
Unlock your potential to create stunning visuals in this comprehensive guide to Canva Presentations. This tutorial will walk you through all the key features, tips, and tricks, enabling you...
Presentation Tutorial: How To Make a Presentation in Canva (FREE & EASY) // In this video, I'm going to show you a simple presentation tutorial on how use (FREE & EASY) already...
Presentations on Canva are SUPER EASY and convenient to put together. In this Canva tutorial video, I'll show you how to put a great lo... I've made the switch!
In this Canva presentation tutorial I'll show you how to create amazing presentations using Canva. Canva is my absolute favorite graphic design tool for non-designers and it comes with a number of presentation templates that you can customize.
Step 1: Open a slide in your Canva presentation. Step 2: Select Elements from the sidebar. You can add graphics, icons, stickers, tables, videos, and more. Step 3: You can explore the AI image...
A cool feature of Canva's Presentation mode is the Presenter view, where you have a screen to view your notes, a timer, and preview of the upcoming slides. No more messy notecards or papers to help you remember what you need to say.
Present your report or pitch decks by selecting the Present button. You can also use features like Magic Shortcuts and Remote Control while presenting.